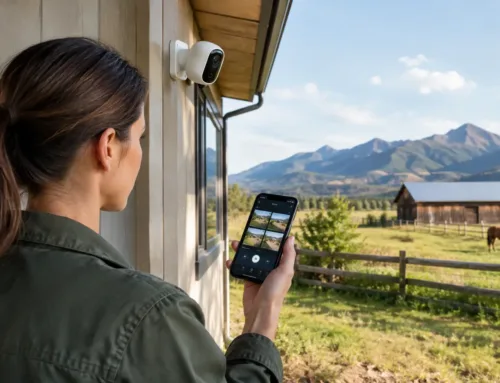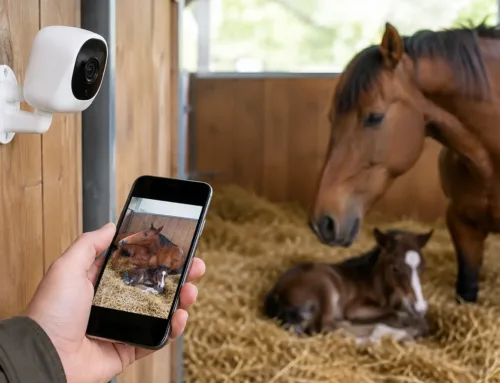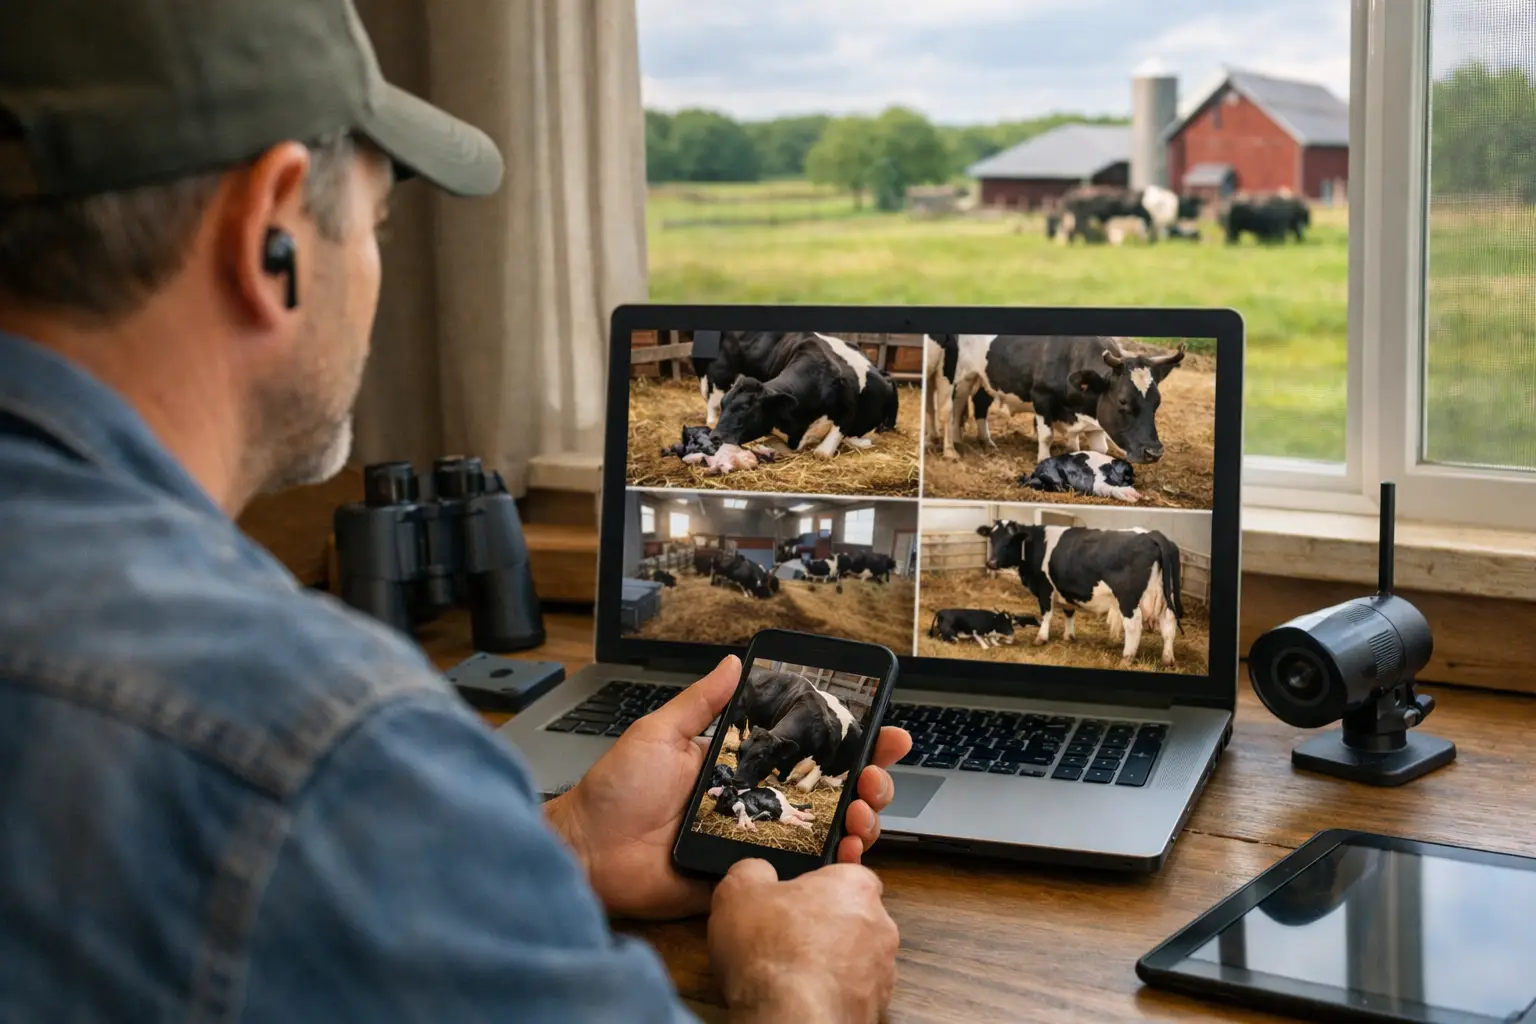
A heifer that is quiet at evening rounds can be well on her way by 2am. Knowing how to monitor calving remotely gives you a clearer view of what is happening in the shed without repeatedly disturbing the cow, waking the household or making unnecessary trips across the yard.
A well-planned calving camera system is not a replacement for stockmanship. It is a practical extra set of eyes, helping you decide when a closer inspection is needed and when it is better to leave a cow settled. The difference comes down to camera position, useful night vision and a connection that continues to work where you need it.
Start with the calving environment
The best camera is not necessarily the one with the longest specification sheet. It is the one that gives a clear, dependable view of the pens where cows are most likely to calve. Before choosing equipment, look at how animals move through the building, where bedding is deepest, where gates and feed barriers obstruct sightlines, and whether individual calving pens are used.
For a smaller maternity area, one carefully positioned camera may cover the whole space. In a larger shed, two or more cameras often make better sense: one covering the general loose-housing area and another focused on calving pens or an isolation pen. This avoids the common problem of having a wide view of the shed but no useful detail when an animal is lying down in a corner.
Mounting height matters. A camera installed too low may be knocked, licked or obscured by dust. Too high, and it can be difficult to see whether a cow is showing clear signs of progress. A high corner position, angled down towards the bedding area, is usually effective. The aim is to see the cow’s position, movement and access around her, rather than to identify a tiny detail at the far end of a building.
Use proper low-light cameras, not just a lit shed
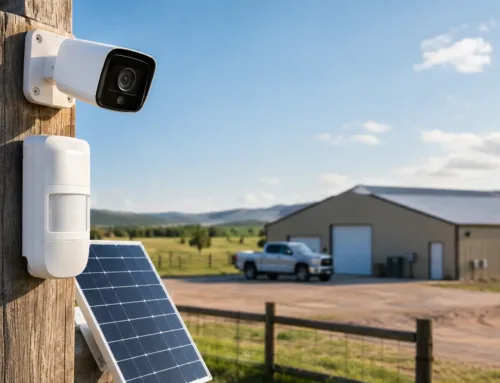
Calving does not follow office hours. Good infrared night vision is therefore essential, particularly in sheds with limited lighting. Infrared cameras provide a black-and-white image in darkness without adding bright light that may unsettle livestock.
A small amount of ambient light can improve colour images, but it should not be relied upon. Yard lights may be switched off, a bulb may fail, or a cow may choose the darkest part of the shed. Ask for a real demonstration of night-time image quality at a similar distance to your intended viewing area.
Also consider dust, cobwebs and condensation. These can reflect infrared light back towards the lens, creating glare or a hazy image. Choosing the right mounting position and allowing access for routine cleaning is as important as the camera itself.
Make remote viewing genuinely useful
Remote monitoring should let you check live images quickly from a phone, tablet or computer. If opening the camera feed takes several minutes, freezes regularly or only works in one room of the farmhouse, it will not be used when it matters.
A professionally configured system can provide secure remote access, with clear camera names and views arranged around how you work. For example, separate views might show the main calving shed, individual pens, the collecting yard and an external approach. This is far more useful than scrolling through anonymous camera numbers during the night.
Motion alerts can help, but they need careful setup. Livestock naturally move, bedding shifts and flies can trigger activity. In a busy shed, constant notifications soon become background noise. Alerts are usually most valuable for a specific calving pen, a doorway, or an after-hours area where movement is less expected. For general shed coverage, many farmers prefer to check the live view at intervals and use their own judgement.
Recorded footage is useful too. It can help you review when behaviour changed, check whether a cow was attended by another animal, or investigate a problem in the shed. However, recording should support observation rather than create an expectation that every event will be noticed afterwards.
Connectivity is often the deciding factor
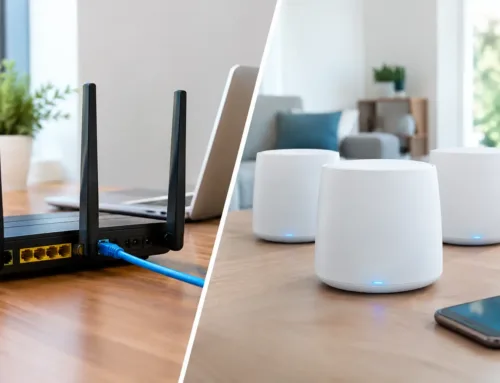
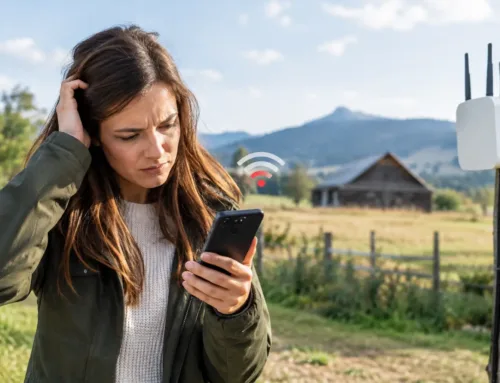
Many farm buildings were never designed for video streaming. A steel-framed shed, thick stone walls and distance from the house can all weaken Wi-Fi. Fixed broadband may be slow or unavailable, particularly at outlying units.
This is where the wider system design matters. A camera may work perfectly at the shed but still be frustrating to view remotely if the network between the building and internet connection is poor.
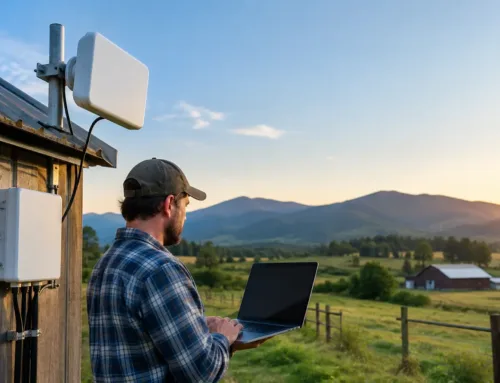
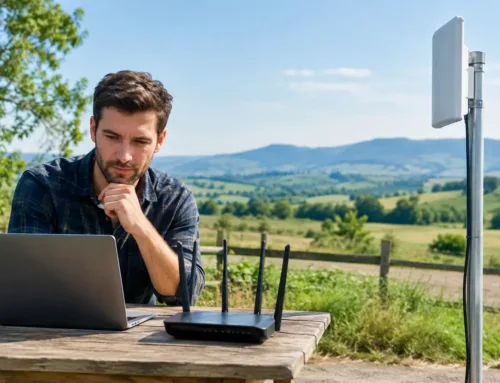
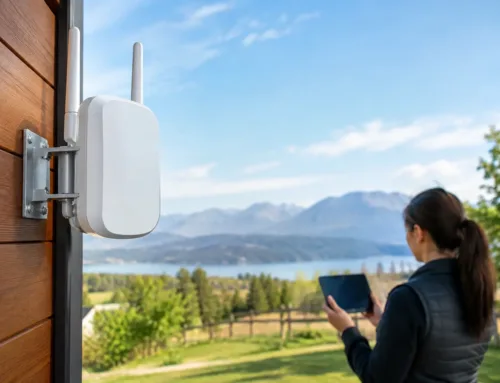
There are several practical ways to overcome this, depending on the site. A wired network connection is often the most dependable option where a suitable cable route exists. For longer distances across a yard or between buildings, a point-to-point wireless link can carry the network without trenching extensive cable. Where conventional broadband is weak, 4G, 5G or Starlink can provide the connection needed for reliable remote viewing.
Each option has trade-offs. Wireless links need clear line of sight and secure mounting. Mobile connectivity depends on local signal strength and can vary by network. Starlink can be particularly helpful at remote sites, but it needs a clear view of the sky and appropriate power and mounting arrangements. A site survey identifies what will work in practice, rather than relying on a signal reading from the farm office.
Do not overlook power and resilience
Every camera, wireless access point and network device needs a reliable power supply. In older buildings, this can be the limiting factor. Electrical work should be planned around safe cable routing, weather exposure and protection from livestock and machinery.
It is also worth deciding what should happen during a power cut. A small uninterruptible power supply can keep key network equipment running through short interruptions, although it will not cover a prolonged outage. If the internet connection or router loses power, remote viewing will stop even if the cameras themselves remain live.
A practical setup for calving cameras
The right arrangement varies between spring-calving suckler herds, dairy units and smaller pedigree operations. Still, a useful system normally answers four simple questions: can you see the animal clearly, can you view the feed when away from the shed, does it work at night, and will it stay connected?
When planning the installation, work through these essentials:
- Identify the pens and bedding areas that need close coverage, including where a cow may choose to calve rather than where you expect her to.
- Check camera angles with gates open and shut, machinery parked, and animals standing as well as lying down.
- Plan the network route from shed to farmhouse, office or internet service, including any buildings, trees or terrain between them.
- Test the live view after dark and during poor weather, not only on a clear afternoon.
- Set up access for the people who genuinely need it, using individual secure logins rather than sharing a password widely.
This approach reduces the chance of fitting a camera that looks good on installation day but leaves a blind spot when the calving shed is full.
Camera monitoring and animal welfare
Remote cameras can reduce unnecessary disturbance, which is often beneficial for a cow close to calving. They can also help staff or family members coordinate checks, especially where the calving shed is some distance from the house or the person on duty is covering other work.
But cameras cannot assess everything. They cannot feel a cow’s condition, check presentation, smell infection, or replace prompt professional advice when calving is not progressing normally. A clear escalation plan remains essential: know who will inspect, when to call for assistance and where the necessary equipment is kept.
For farms with several people involved, agree what constitutes a call-out. That prevents the uncertainty of everyone assuming somebody else has seen the camera feed. It also avoids overreacting to normal movement in the pen.
Choose a system that can grow with the farm
A calving camera installation often becomes the starting point for wider farm visibility. The same network may later support cameras at lambing sheds, foaling boxes, machinery yards, gateways or fuel tanks. It may also improve Wi-Fi in a workshop or provide connectivity to a remote office.
That does not mean every farm needs a large system from the outset. A straightforward installation covering the immediate calving requirement can be the sensible choice. The key is using equipment and network design that allows further cameras or links to be added without starting again.
CUBTECH approaches this as one connected job: assessing the shed, distance, terrain, power and available internet before recommending cameras and connectivity that suit the site. That is particularly valuable where the camera location is easy to identify but the route back to dependable broadband is not.
The most useful calving camera is the one you trust enough to check at 2am. Get the view, night performance and connectivity right, then it becomes a calm, practical part of better livestock care rather than another piece of technology demanding attention.